Low or modified car transport: photos and measurements
Prepare useful clearance photos, dimensions and access details for a low or modified car in Auckland. Know what measurements cannot guarantee before booking.
Before booking transport for a low or modified car, send photos of the front, sides and rear, visible low points, and the route between the car and the road. Add safely obtained clearance and size information, identifying where each measurement was taken. “Lowered” or one clearance figure is not enough to confirm a loading plan; the operator needs to assess the actual car and the approach together.
Our flatbed-choice guide explains when to ask about a flatbed. This guide goes further into the evidence to send, without prescribing a ramp setup or a minimum clearance that guarantees collection.
Start with what has changed
Give the make, model, year and variant, then describe relevant changes: suspension, wheels and tyres, front splitter, side skirts, rear diffuser, exhaust or other parts extending below or beyond the original body. State whether the vehicle is in its usual parked condition or has damage or a flat tyre. If ride height is adjustable, describe the current setting and whether the system is working; do not change it just to demonstrate access.
NZTA’s guidance before modifying a vehicle notes that suspension changes can affect handling and that some modifications require LVV certification. Ask a WoF inspector or LVV certifier about compliance questions. A towing photo assessment is not a WoF or certification decision, and certification does not itself confirm that a particular loading route will work.
Send a photo set that shows shape and access
Only take photos from a safe standing position, away from traffic and moving equipment. Do not crawl under the car.
- Front and rear at an angle: show the bumper edges, splitter or diffuser, wheels and the ground beneath them.
- A full side view: show both wheels and the body between them, including visible low skirts or exhaust sections.
- A close-up of an accessible low point: identify the part and its location. A detail photo should accompany the wider view, not replace it.
- The driveway or access route: show the road entrance, kerb transition, slope changes, humps and any narrow turns between the truck’s possible position and the car.
- The surrounding space: show gates, parked cars or other obstacles that limit alignment or working room.
Do not move the car across a suspected scraping point to obtain a better picture. A stationary car photograph and a separate access photograph can be enough to start the discussion.
Label useful measurements and unknowns
If you can safely measure from beside the stationary car, give the vertical gap from the ground to an accessible front lip or side skirt, in millimetres, naming the point. Include a photo of the ruler and note uneven ground. Do not reach under the vehicle to find its absolute lowest point; say that underside clearance is unknown.
Provide overall length and width from the correct manual if available, labelled as manufacturer dimensions. Mention body kits or other changes that may make those figures incomplete. Where access is restricted, send the gate’s clear opening width and any posted entry height. Label estimates as estimates rather than supplying a confident guess.
These are enquiry details, not loading instructions. A front-lip measurement does not describe the whole underside, and a figure taken on level ground does not establish clearance at a slope transition. Drive1 does not publish a universal minimum clearance for collection.
Keep recovery points separate from low bodywork
Send the disabled-vehicle recovery section of the correct handbook and say whether the specified tow eye or other required parts are available. Leave attachment and loading decisions to the operator; do not choose a suspension arm or a convenient body opening as a recovery point.
For one model-specific example, the Tesla Model 3 NZ transporter instructions warn against pulling the vehicle onto a flatbed by its chassis, frame or suspension instead of the correctly installed tow eye. The instructions do not establish a method for every modified car.
If the car is in a basement, add the level, bay and entrance information from our car-park recovery guide. If it cannot roll or steer, state that separately; a low-clearance photo cannot answer those questions.
Ask for the actual job to be assessed
“Vehicle: [model/year/variant]. Changes: [parts and current ride height]. Condition: [damage/tyres/known wheel or steering restrictions]. Photos: [front/rear/side/low points/access]. Measurements: [point, value, units, measured or estimated]. Manual and recovery parts: [details]. Pickup/destination: [addresses, access and receiving contact]. Unknowns: [items].”
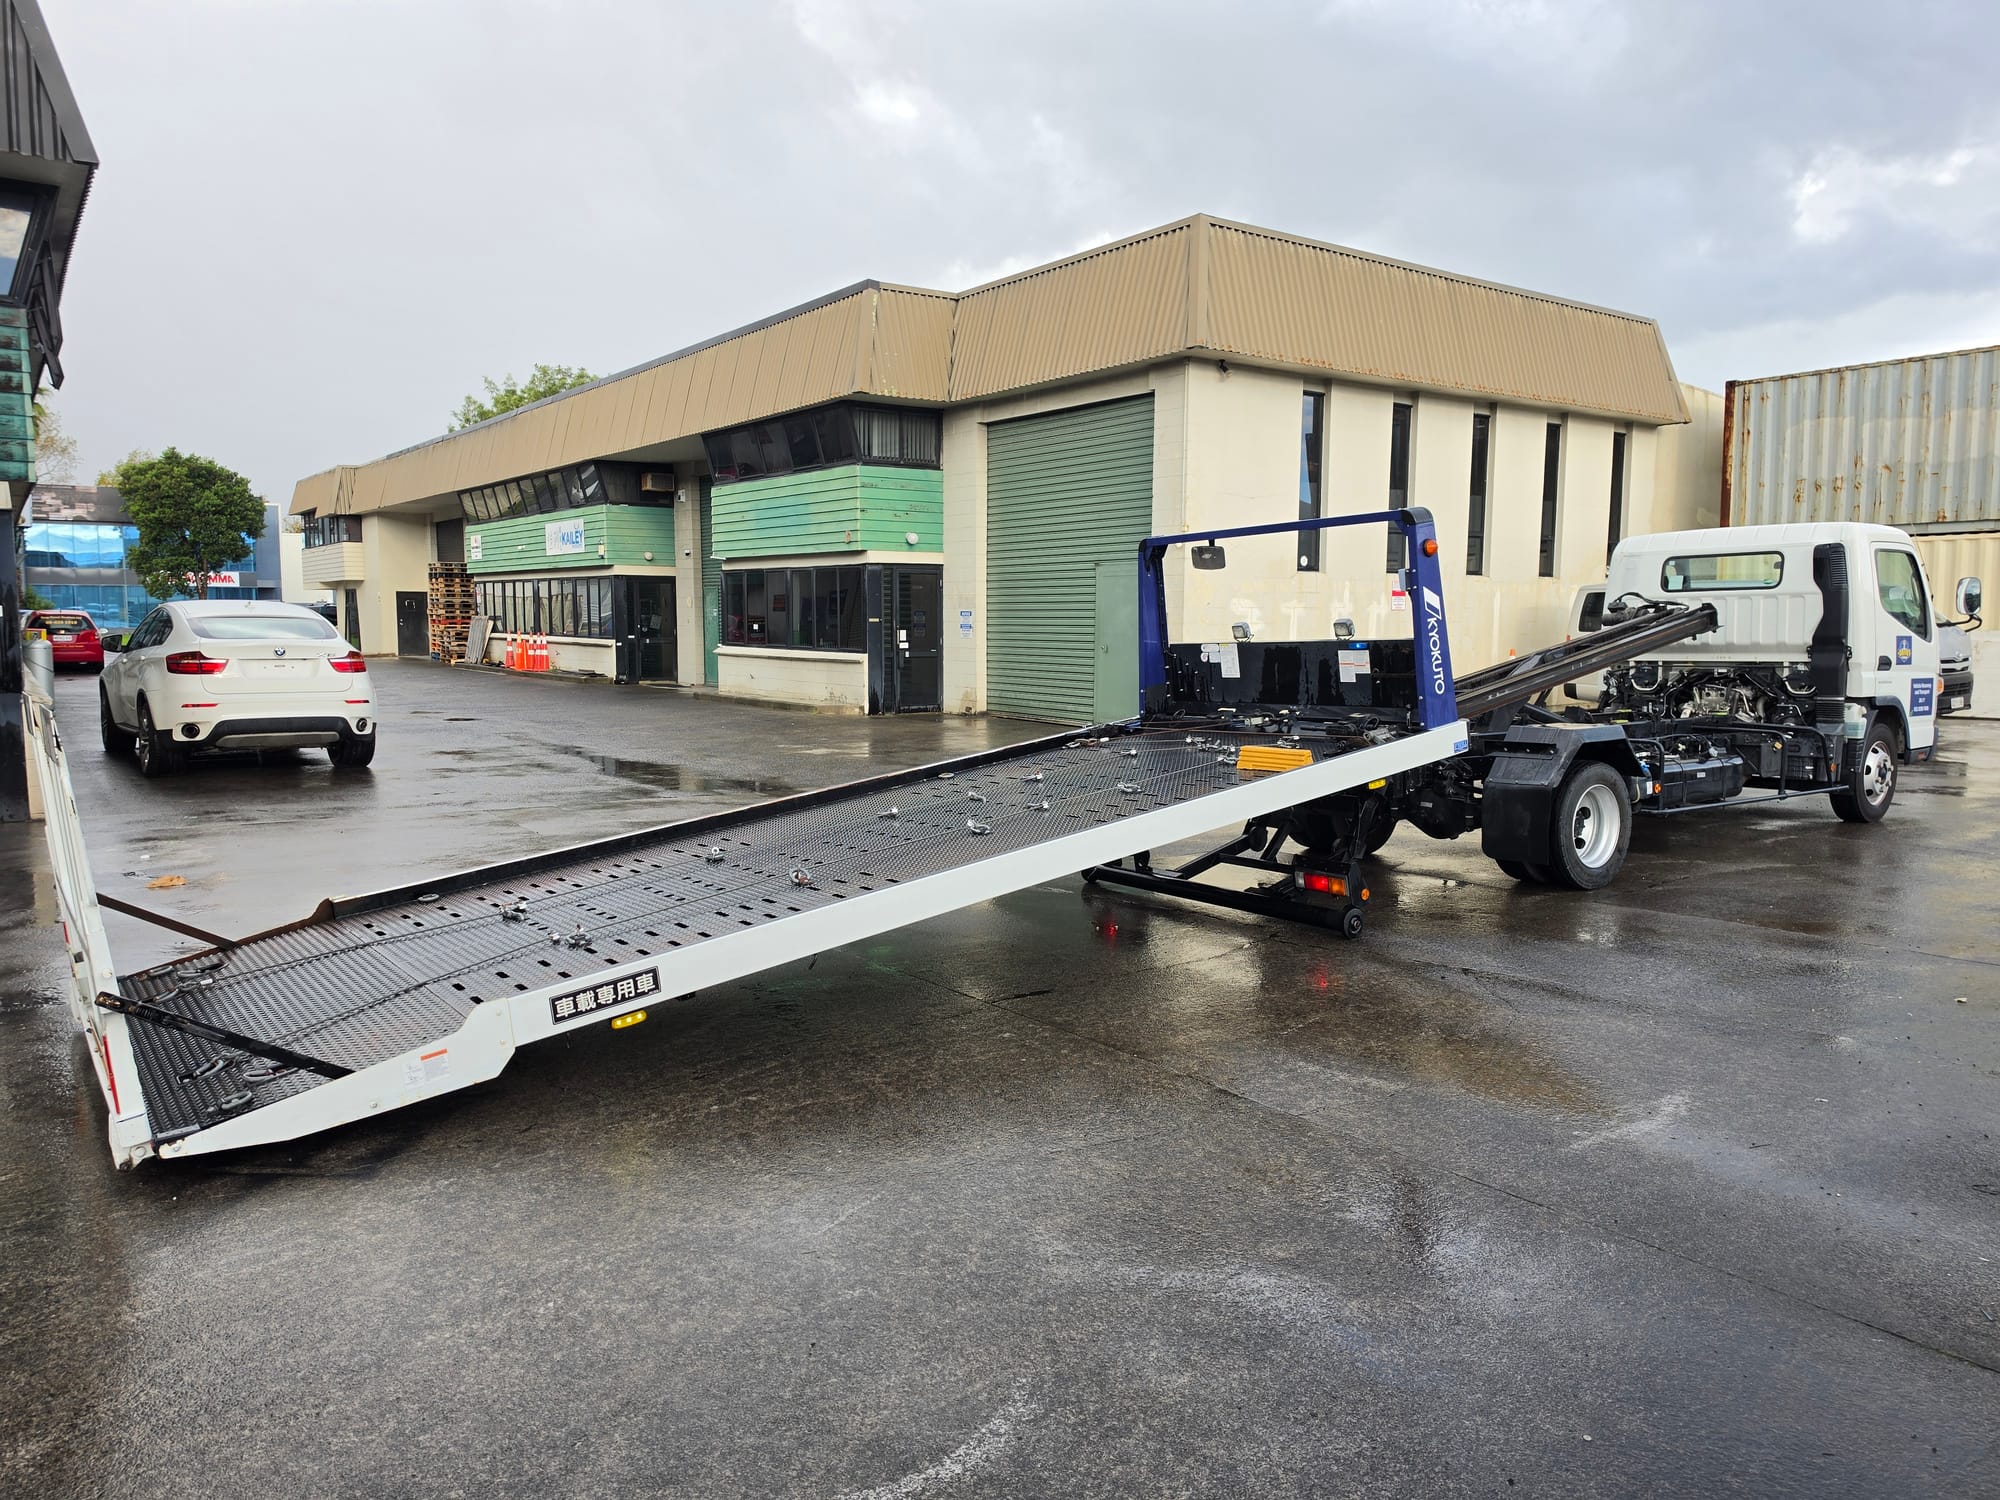
See our fleet photos and confirmed low-vehicle service for Drive1’s existing equipment and scope. The lie-flat deck helps address clearance concerns, but does not guarantee every vehicle or approach can be accommodated. For planned Greater Auckland transport, send the information through the quote form. For a disabled car needing transport now, call 021 0289 7845 and explain the constraints before dispatch. Out-of-Auckland transport is by appointment.
24/7 towing across Greater Auckland.
Direct dispatch from Wairau Valley. Lie-flat flatbed for low and prestige vehicles. English & 中文.
- Breakdown Planning
Labour Weekend from Auckland: make a breakdown plan
Plan who to call, where a disabled car can be received and how passengers will continue before your Auckland Labour Weekend trip on 24–26 October 2026.
- Vehicle Transport
Prestige or classic car transport: a handover checklist
Record condition, model instructions, keys and accessories before moving a prestige or classic car in Auckland, then agree how it will be checked on arrival.
- Roadside help
EV 12V or drive battery: what to report before help
EV not responding or out of charge? Separate low-voltage symptoms from drive-battery information, record warnings and confirm the next stop before transport.